Candle making is an art as ancient as civilization itself. For centuries, these simple sources of light have been crafted by humans, first from tallow and later from beeswax, paraffin, soy, and more. Today, candle making has evolved from a necessity to a beloved craft or hobby for many. In this guide, we'll explore the materials, processes, and tips you need to start making your own beautiful candles.
1. Materials
Wax: There are several types of wax to choose from.
- Paraffin Wax: Derived from petroleum, paraffin wax is one of the most common types used in candle making. It's affordable and easy to work with.
- Beeswax: This natural wax comes from beehives and has a naturally sweet aroma. It's the oldest material used for candles.
- Soy Wax: Made from soybean oil, soy wax is a natural and renewable source. It burns slower and is cooler than paraffin. Along with this, soy wax is great at distributing the fragrances evenly throughout a space, both when hot and cold. Precisely because of this, we at Renewify use Soy Wax.
Wicks: The type and size of the wick is crucial. Cotton wicks are standard, but there are also wooden wicks, which offer a unique crackling sound as they burn.
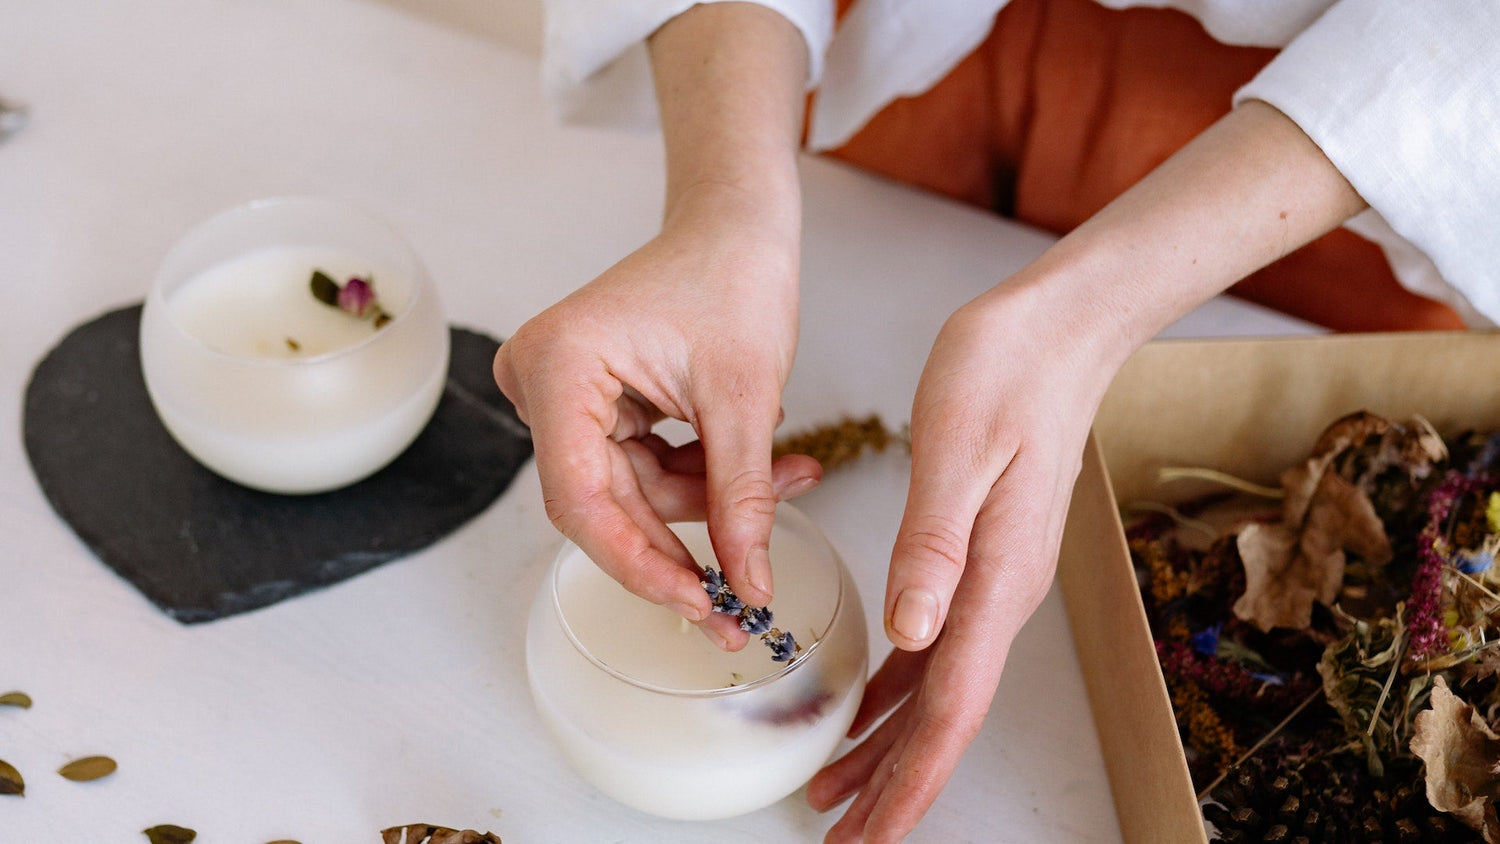
Fragrance Oils & Essential Oils (strongly recommended): To add aroma to your candles. While this is certainly optional, we don't recommend skipping such an important step.
Dye (optional): For a dash of pizazz.
Molds or Containers: This depends on the type of candle you're making.
- Votive Candles:
- Size & Shape: Votives are usually small, cylindrical candles, typically about 1.5 inches in diameter and 2 inches high.
- Burn Time: They typically burn for 8-15 hours, depending on their size and composition.
- Usage: Votive candles are designed to be burned in a votive holder, which should be just slightly larger than the candle itself. As the votive burns, it liquefies, and the holder contains the melted wax. This ensures a longer, cleaner burn.
- Purpose: They're often used for ambiance, religious ceremonies, or accent lighting. Because they are small, they're commonly used in multiples to create a more substantial visual effect.
- Pillar Candles:
- Size & Shape: Pillars are freestanding candles, typically cylindrical, but they can come in various shapes, sizes, and heights. They are usually larger than votives, with diameters ranging from 2 to 3 inches or more.
- Burn Time: Their burn time varies significantly based on their size but is generally longer than votives. Some large pillar candles can burn for 100 hours or more.
- Usage: Pillar candles are designed to burn down while maintaining their shape, so the outer wax shell remains as the inside burns down. They should be placed on heat-resistant surfaces or plates to catch any potential wax drips.
- Purpose: Pillar candles are popular for decorative purposes and are often used as centerpieces or for general home décor.
- Container Candles:
- Size & Shape: As the name suggests, these candles are made inside a container, which can be made of glass, metal, ceramic, or other materials. They come in various sizes, from small jars to large bowls.
- Burn Time: The burn time varies based on the size and composition of the candle.
- Usage: The container is designed to hold all the wax as the candle burns, so there's minimal wax dripping or mess. When burning a container candle, the wax usually liquefies to the edge of the container, ensuring an even burn.
- Purpose: Container candles are versatile and often scented, making them popular for home fragrance and décor. Their containers can be decorative and add aesthetic value.
2. Process
Melting the Wax: Start by melting the wax in a double boiler or microwave until it reaches the appropriate temperature. Typically, 170°F - 180°F is optimal.
Adding Color and Scent: Once the wax is melted, stir in your chosen dye and fragrance. Remember, a little goes a long way!
Preparing the Wick: Attach the wick to the bottom of your mold or container using a bit of melted wax or a wick sticker.
Pouring the Wax: Pour the melted wax into the mold, leaving about half an inch at the top.
Setting the Candle: Allow the wax to cool and harden. This can take several hours to days, depending on the size and type of candle.
Trimming the Wick: Once your candle is set, trim the wick to about a quarter of an inch above the wax surface.
3. Tips for Perfect Candles
- Temperature Matters: Ensure your wax is at the right temperature when pouring. Too hot or too cold can lead to imperfections like cracks or bubbles.
- Quality Ingredients: Using high-quality wax, fragrance, and wick will result in a better-burning and longer-lasting candle.
- Experiment: Don't be afraid to try different fragrances, colors, and molds. The possibilities are endless!
- Safety First: Always monitor melting wax, and never leave it unattended. Use heat-resistant containers and work in a well-ventilated area.
In conclusion, candle making is a rewarding craft that offers endless possibilities for personalization and creativity. Whether you're looking to make gifts, start a business, or simply enjoy a relaxing hobby, mastering the art of candle making can be a luminous journey. Dive in, and let your inner craftsman shine!
